Cooking with Chewy (how to make lunches for the week in an hour)
Cooking with Chewy

So my blog about going to the grocery got a bit of attention and one of my students asked if I would post something about how to cook. His dilemma he says is that he can’t cook. The grocery article stressed that eating healthy foods can be easy and this post will be about how you can cook food fairly simply.
Please bear with me as my cooking abilities are more akin to The Swedish Chef than a gourmet chef.
First we need the food!

-1lbs grass fed beef (fat % is your choice)
-1 ½ cup of dry quinoa (I’m using a mixture of red and white in the photo)
-1lbs bag of chopped bell peppers (you can opt for freshly chopped. I buy the frozen at times for convenience. If you do buy frozen vegetables, be sure there are no preservatives or flavors added.)
-10 baby mushrooms
-Misc. Coconut oil, yellow curry powder, pink salt
*Not shown.
* 1lbs of brussells sprouts and broccoli florets.
*4 cloves of freshly chopped garlic.

I typically start by getting the water for my vegetables (kettle) and quinoa(pan) ready. If you’ve never cooked quinoa before, no worries, it’s really simple. It’s two parts water and one part quinoa. For example, since I was cooking 1 ½ cups of dry quinoa. I brought 3 cups of water to boil. So when you’re cooking, double the amount of water you use in relation to the quinoa.

After the water is on the stove I move over to a large pan for the beef or whichever meat I decide to use. I like starting with a spoonful of coconut oil and throwing the fresh garlic on the pan. After a couple of minutes I will throw the meat onto the pan. Since I was using beef, once on the pan I began to chop it up with the spatula and added the yellow curry powder.

Once the water is at a boil I’ll throw the quinoa in, cover the pan and lower the heat. Once this is done it typically takes around 12 minutes before the quinoa has absorbed the water.

Once the beef is browning and getting closed to finished I will add the frozen peppers and mushrooms. I don’t want them to be super cooked because I will be reheating these meals. I find that cooking vegetables and peppers less makes them taste better when I reheat the meals.

It doesn’t take a long time and then the peppers will soften and the final product looks like this. . .
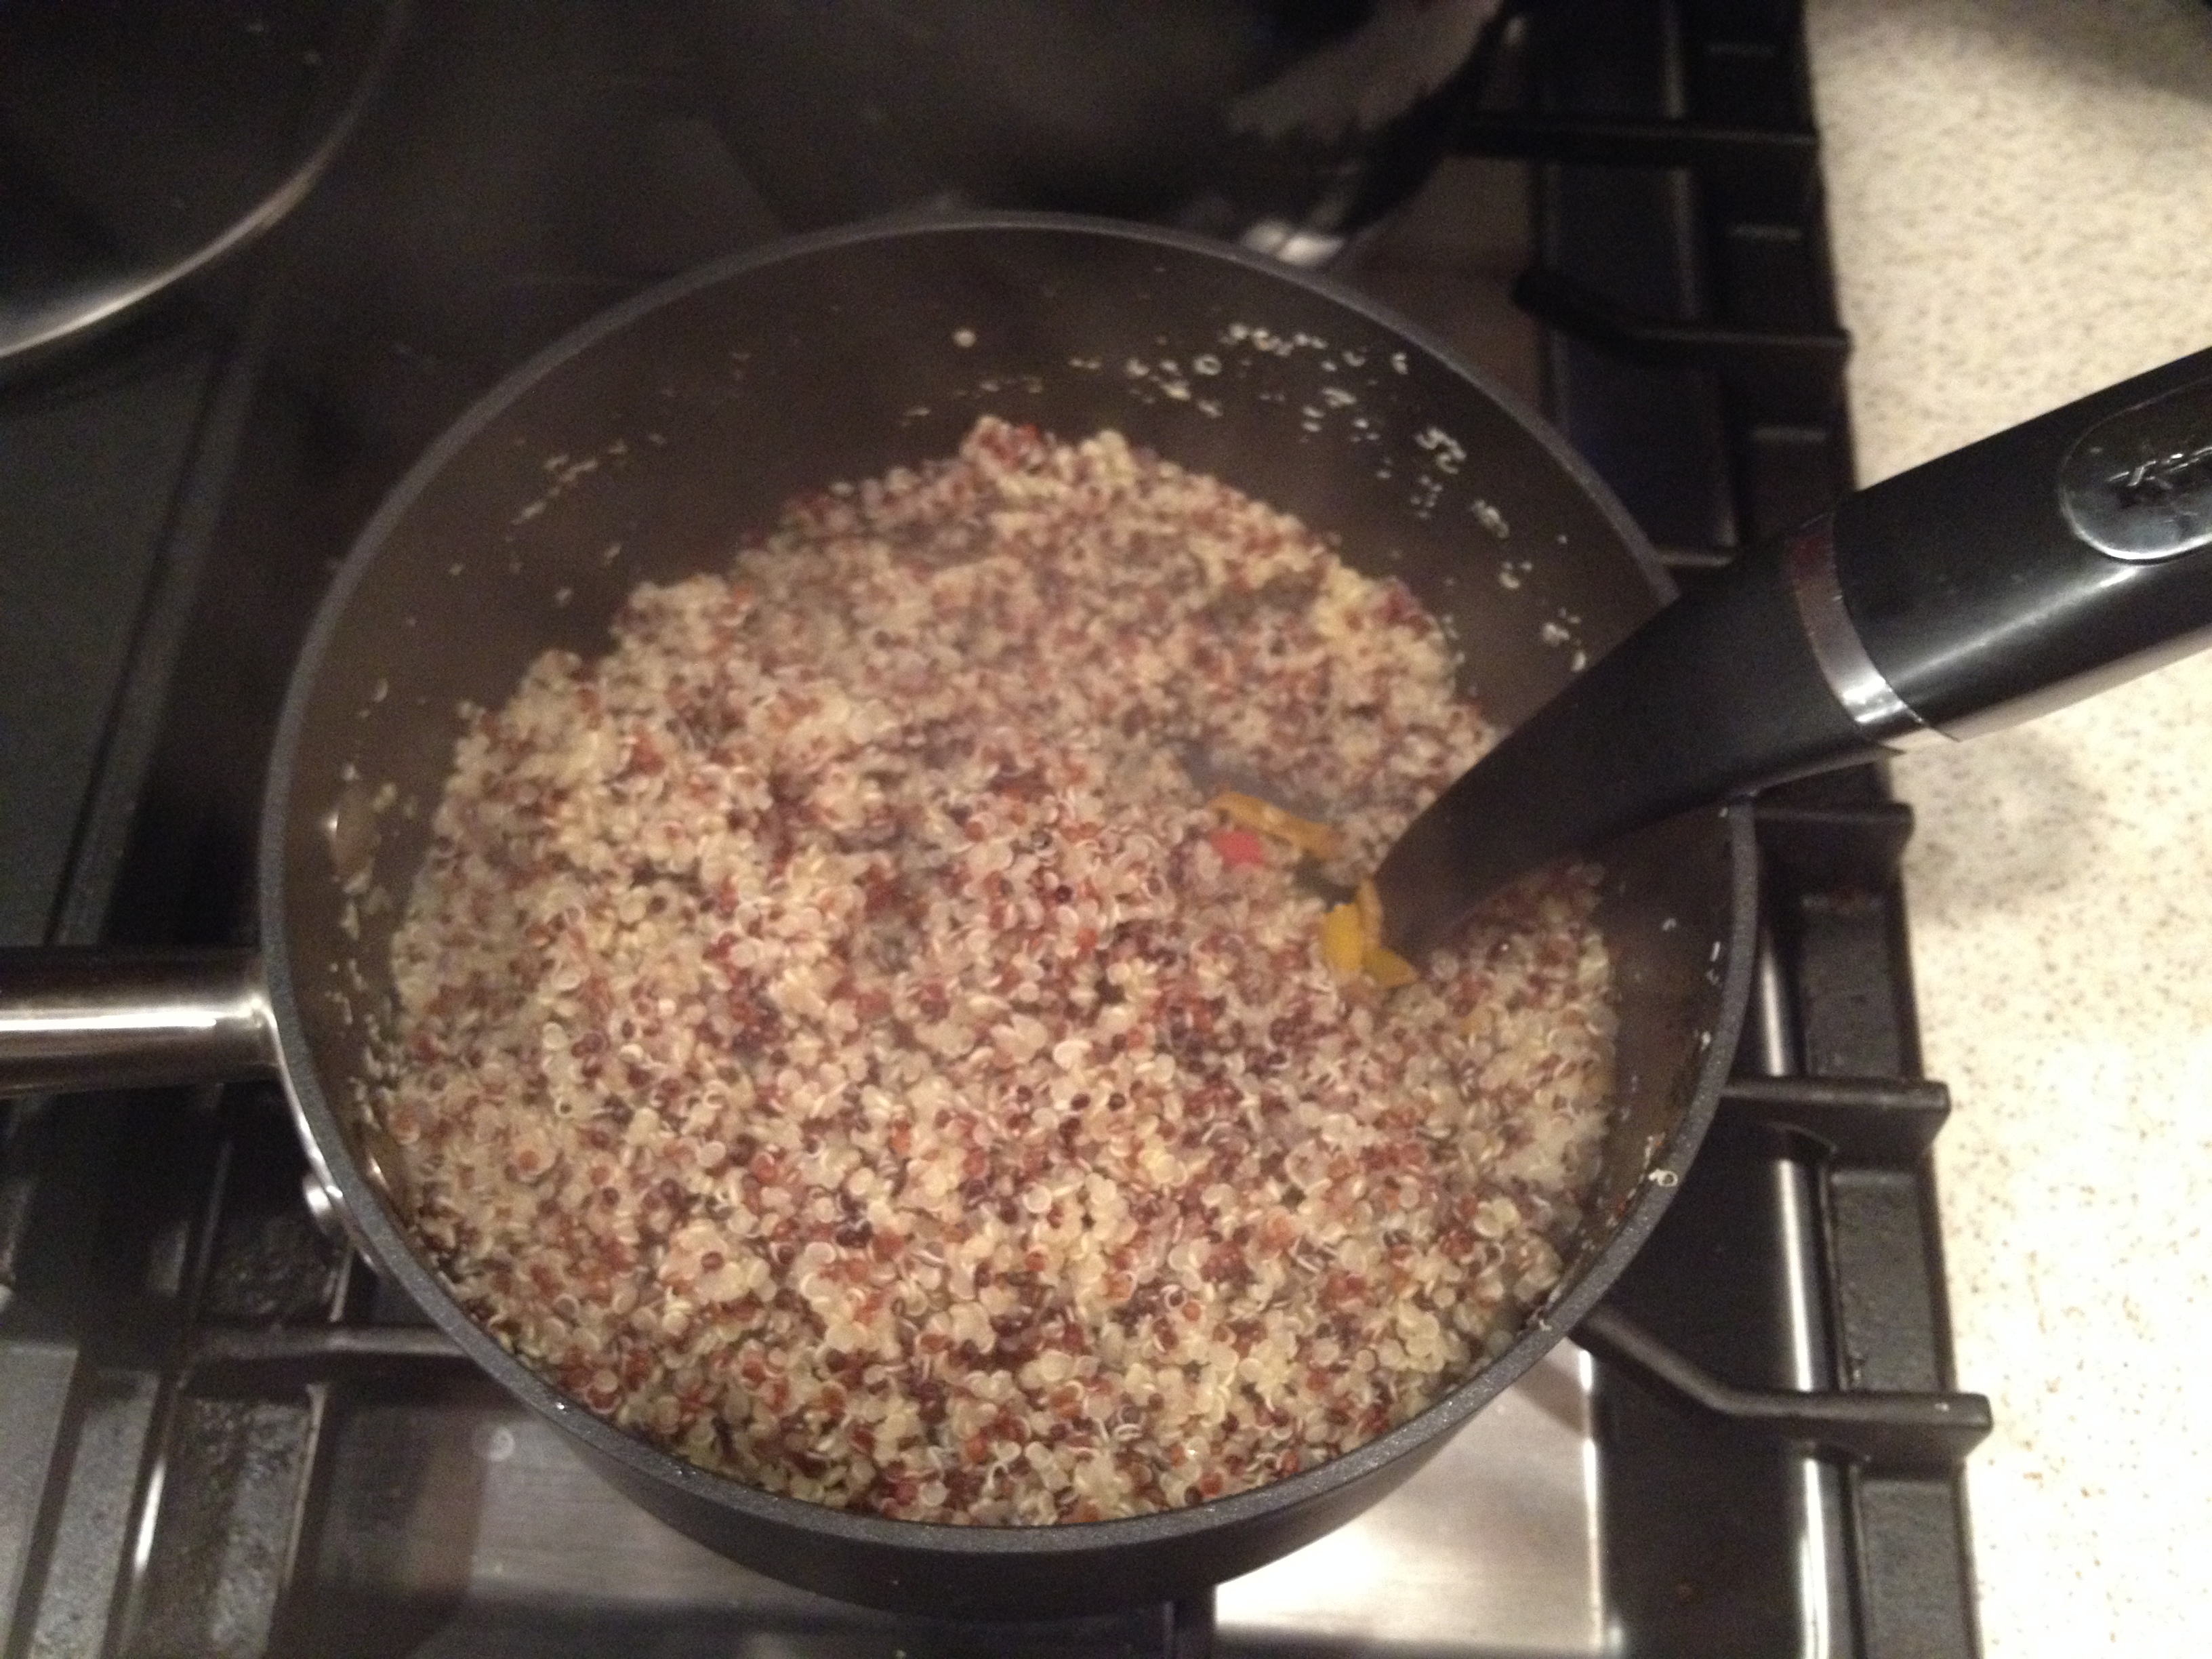
By now the quinoa should be ready and will look something like this. Move around the quinoa to ensure there isn’t much water left. If there is a little bit, its ok, just sit the hot pan to the side and it will absorb any remaining water. If there is a lot, then continue to cook. Otherwise you probably added too much and need to drain some out of the pan.

With the vegetables, again, I don’t want to cook them too much as they tend to get soggy upon reheating. So I will place them in another pan on the stove and pour the boiling water from the kettle on top of them. I leave them in the water for around 2 minutes and then drain the water and put them into a bowl before I pack them up for the week. This cooks them but keeps them from being mushy when heating.
After this is done you’re ready to put all the food into containers for the week. You can use for tupperware and I’ve even seen people use little zip lock bags to hold and then pour the food onto a plate or bowl before heating. That’s really up to you. This process took less than an hour and I also have chicken and other vegetables that I didn’t show in this blog that were cooked in the same time frame. So in an hour I have enough food to provide lunches for the rest of the week. Plus it wasn’t difficult, so even if your culinary skills are subpar you can still cook well enough to provide yourself with healthy options during the week.
Again I hope this blog helps you eat healthier which in turn will help you train harder. Good luck!
As always,
Thanks for reading!
Chewy
Nice Blog Chewy! Just discovered it. I’m trying to get mine working. Still not very good at the website stuff.
-Robin
http://www.gracieohio.com/blog/
Thanks Robin. Good luck with the blogging for your gym.